Highland Cow Creative Process
Research & Thumbnails
Every project starts with finding and taking good reference photo(s). For this project I was able to find a good image of a highland cow and start thumbnailing composition ideas. It was a vertically longer reference photo then preferred, so I cropped the iamge in to emphasize the focal point - the cow. Once I’ve found a composition I’m happy with, I’ll do a couple quick studies.
Doing a black and white study allows me simplify the value changes and better separate lights and darks. This helps me not get too caught up in the details, and just throw it down into readable shapes. The second study is done in color, and it really helps me understand the temperature shifts. I will choose the lightest color temperature based on the value study, then the midtones, and then my darkest dark.


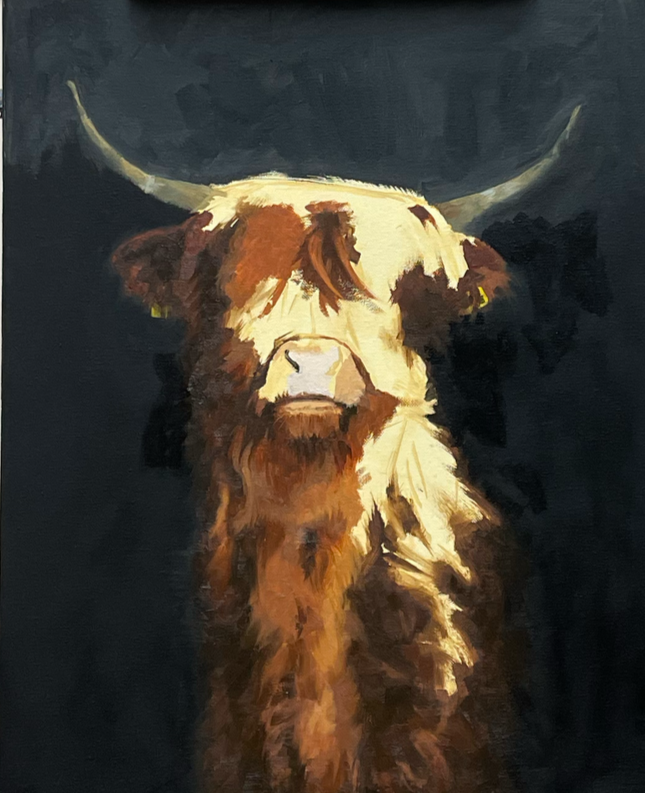
Blocking In
Most of the work is done in the “prepping” stages of research and thumb-nailing, and after that, it’s time to paint the final piece! The final stage can be summed up into three parts: layering, details, and then the finished product. Taking what I know from the beginning stages, I’ll build up each layer from back to front, while working each layer in together to get the soft brush work. This can be said for any painting; working to soften edges can make a subject appear more realistic because it rounds out the form and doesn’t make the value shifts as harsh. The second to last stage is refining to get the intricate details, adding to the character of the painting.


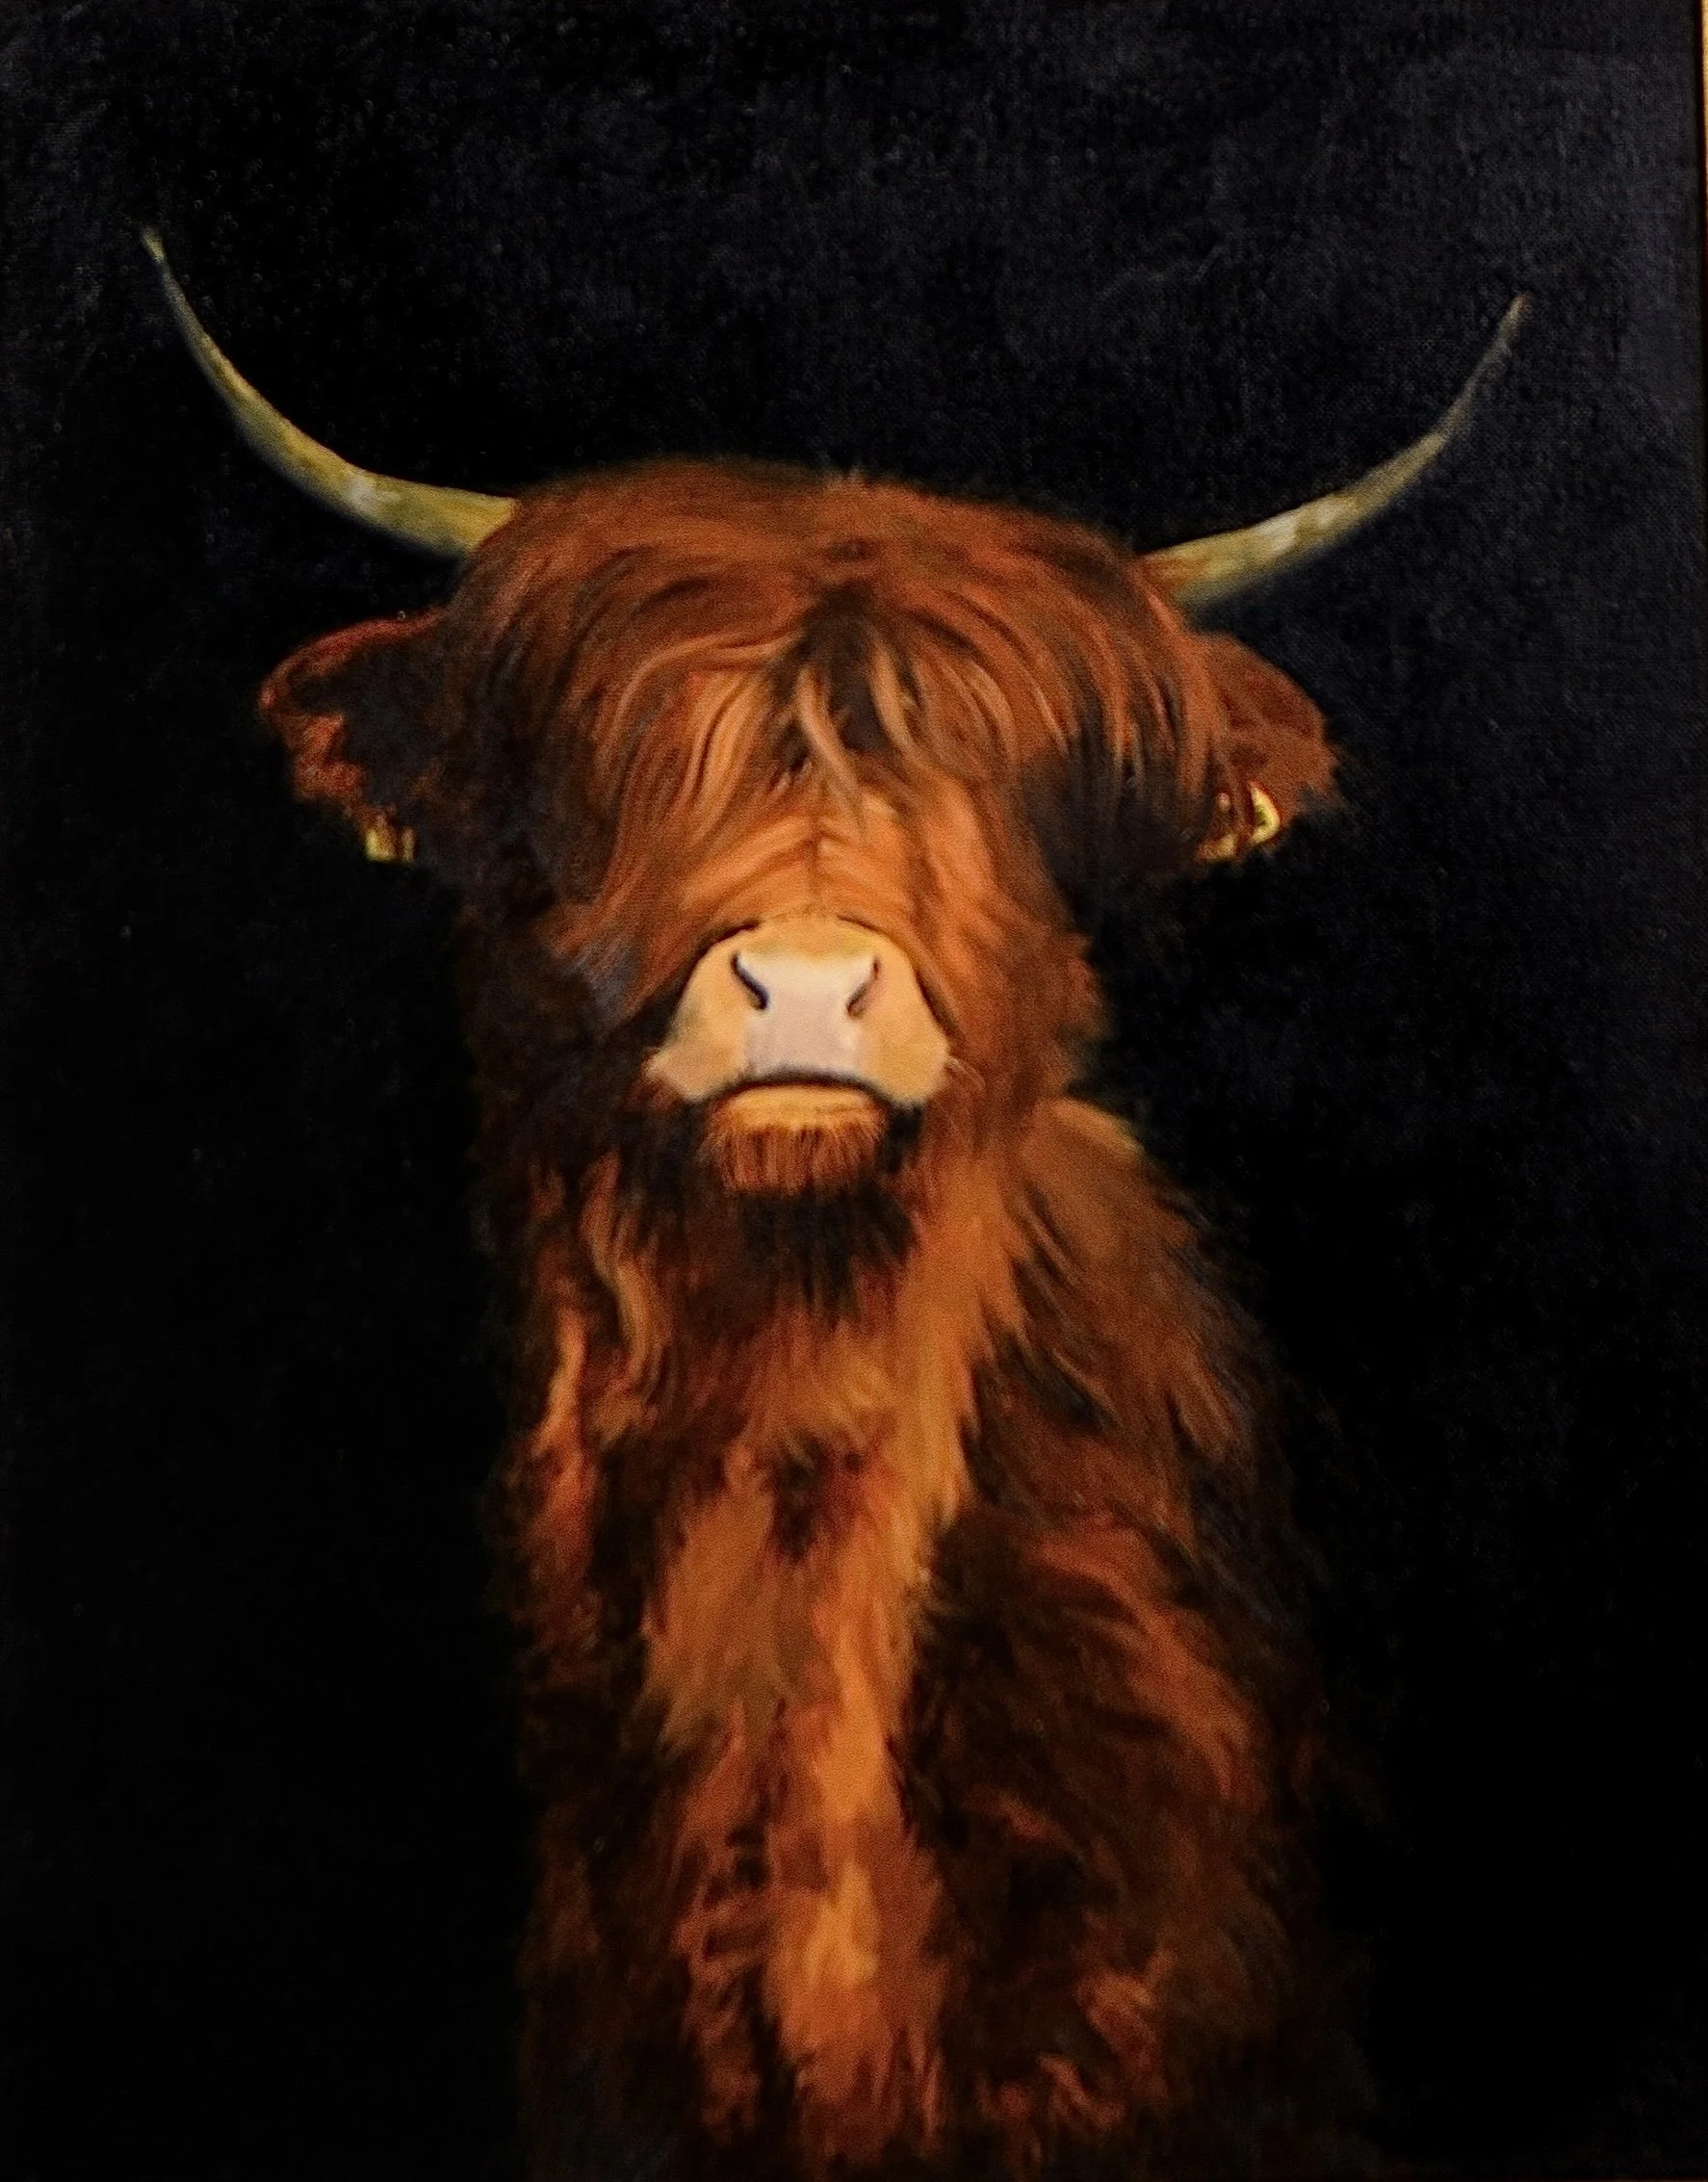
Final Stage
After the textures have been refined and the details have been added, the painting comes to a close, and the final stage is to enjoy the finished product! Even though the painting is done; I’ll wait until it’s completely dry to varnish it and enhance those beautiful warm colors.
Then as an extra step, I’ll take professional pictures to promote branding and the painting itself, and later create prints to sell.